Posts

Student screen sharing on Vivi
Image
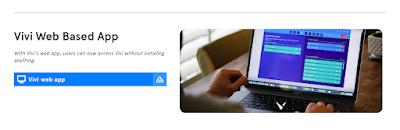
  To enable students in your class to share their laptop (or phone screen) via Vivi, ask students to go to: https://app.vivi.io/#/select-org  or Google: Vivi web-based app Once the web-based app web page has been opened, the student then selects Hagley College and will be asked to log in - they do not log in as a Guest.  Once logged in, the student will need to find the correct room to share their screen and click "join Room"  The student can then click Request Control.   As the teacher, you will receive a notification on your login to " give student control " The student can then select share scree n. The teacher needs to select "give control" to enable a student to share their screen. You may like to click on the screen preview button, to see what the student is sharing first:  To stop a student from sharing, click the X;   
Using Vivi to Play Video

Image
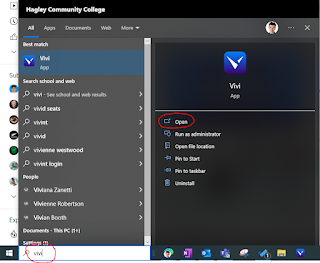
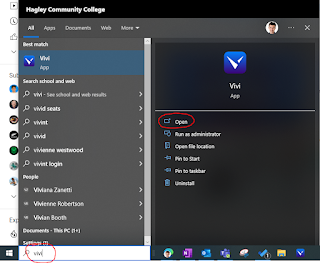
  Vivi is a wireless screen-sharing device that enables you to connect to the big screen and still move around the room with your laptop. In addition to a basic screen-sharing function, it is able to play video links directly, which generally allows them to load better and play at a higher quality. How to use the "Play Video" fuction of Vivi: Step 1:  Vivi is preinstalled on all school laptops, so search for it in the Windows search box:  Step 2: Select the screen you want to connect to and select "Join Room":  Step 3: Enter the room code (this will appear on the TV which you are trying to connect to) Step 4: Once connected, click "Play Video" open up the video playing menu Step 5: Copy the URL of the video you want to play. (NB Any video from YouTube, Vimeo, and certain news sites will work, but any streaming service requiring a log in will typically not). Step 6: Paste the link into the provided box. You can now play the video. If you are preparing for a...

SchoolBridge for Staff Forms

Image
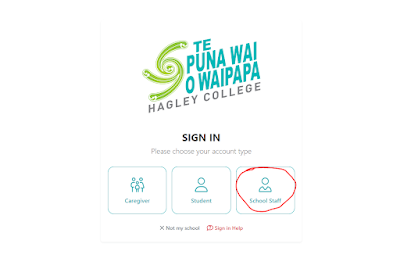
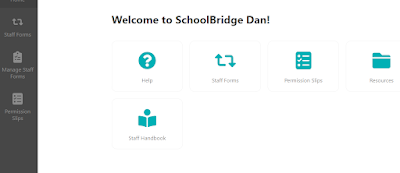
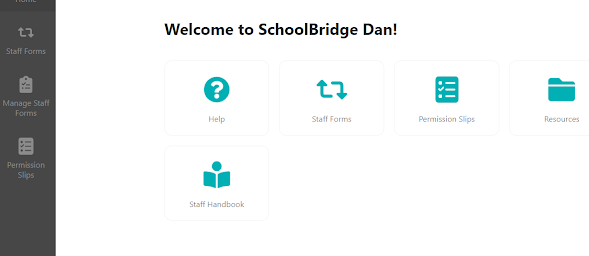
SchoolBridge is Te Puna Wai o Waipapa's online location for completing all sorts of forms at school. SchoolBridge is a website -  https://hagley.bridge.school.nz - so you can favourite this website to your internet browser, or you can access SchoolBridge from the Hagley All Staff Team.  Once you have logged in with your School Microsoft username and password, click on staff forms to get started.  There are a number of forms to be completed here, such as EOTC trip proposals, staff reimbursements, leave applications and many more. Once you have submitted the form there is usually an approval process. You will receive email notifications regarding your form's progress stage. Further information about SchoolBridge can be found here  or if you have any questions, please see the eLearning Leader. 

Using Vivi to connect wirelessly to the big screen

Image
Vivi is a wireless screen-sharing device that enables you to connect to the big screen and still move around the room with your laptop. No need to stand or sit in the same place anymore! How to connect your laptop to Vivi:  Step 1: Vivi is preinstalled on all school laptops, so search for it in the Windows search box:  Step 2: Select the screen you want to connect to and select "Join Room":  Step 3: Enter the room code (this will appear on the TV which you are trying to connect to) Step 4: Once connected, click "Share Screen" to mirror your laptop screen to the big screen.  There are many other features of Vivi, such as student screen sharing, instantly playing a video clip or gaining student feedback. There is a short video clip below or further detailed instructions  here . 

EOTC: Using SchoolBridge to Print Take Along Reports (to take student info with you on a trip)

Image
From the home screen in SchoolBridge go to Permission Slips (bottom of vertical toolbar) You'll end up on a page that looks like this: Go to the green 'Create' button on the top right. A pop-up window will ask you to name your form and choose who you want it sent to for approval. You can create a take along report for your event without notifying parents/caregivers. If this is the case, tick the no action required box: Click edit options:  Add the date of your event and if relevant the staff members too. Click save.  On the next screen click 'add students' Students can be added by the class or group or as individuals.  Once you have added the students, click Export and Event Take Along Report  This report will be downloaded as a PDF, which you can print. It includes: A student list (for you to complete and hand into reception on the day of your trip) Student and caregiver contact details A list of 'At Risk Students', with medical information   A coversheet ...

Making the most of ETV

Image
 We currently have a 3 month free trial of ETV, a repository for a huge quantity of video content. Hagley staff and students can very easily sign up using their Hagley email addresses by clicking on the "First Time User Registration button on the  ETV website Once inside, I have found the search bar useful for titles, topics and people involved. (For example, here's some of the first results for a search of "Meryl Streep") You can also do an advanced search, limiting the sources, dates, or age levels. (Click the magnifying glass with a cog in it on the search bar.) In the "Online Collections", videos have been separated into suggested subject areas, but I find the "Library" link a little more useful. The Archives New Zealand channel in particular has some fascinating NZ news content from as far back as the 1940s. ETV, as a resource, could be used by teachers showing a video in front of the class, setting a video link for students to watch independ...

Creating Permission Forms in SchoolBridge

Image
In this post: Creating a Permission Slip Emailing slip to caregivers Printing Take Along Reports (to take student info with you on a trip)  Creating a Permission Slip To access  SchoolBridge  , either click the link to open it in your web browser, or go to the whole staff team and click the EOTC Submission tab: From the home screen in SchoolBridge go to Permission Slips (bottom of vertical toolbar) You'll end up on a page that looks like this: Go to the green 'Create' button on the top right. A pop-up window will ask you to name your form and choose who you want it sent to for approval. In this example 'Residence A' caregivers (from Kamar records) will be emailed the form - they will have to give permission. Note: Students over 19 years of age are held in  Kamar as their own caregivers so will give themselves permission. Once you click 'Create', you'll end up on this screen: To create and edit your permission slip, click 'Edit Options' on the top...