Creating Permission Forms in SchoolBridge
In this post:
- Creating a Permission Slip
- Emailing slip to caregivers
- Printing Take Along Reports (to take student info with you on a trip)
Creating a Permission Slip
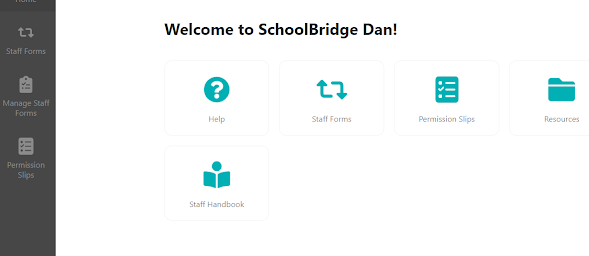
To access SchoolBridge , either click the link to open it in your web browser, or go to the whole staff team and click the EOTC Submission tab:
From the home screen in SchoolBridge go to Permission Slips (bottom of vertical toolbar)
You'll end up on a page that looks like this:
Go to the green 'Create' button on the top right. A pop-up window will ask you to name your form and choose who you want it sent to for approval.
In this example 'Residence A' caregivers (from Kamar records) will be emailed the form - they will have to give permission. Note: Students over 19 years of age are held in Kamar as their own caregivers so will give themselves permission.
Once you click 'Create', you'll end up on this screen:
To create and edit your permission slip, click 'Edit Options' on the top right. You'll end up on a page that allows you to customise the details of your permission slip
From here you can attach a letter to accompany the permission slip if you wish.
You will then need to select a form - this is an online form that is sent to caregivers. For most trips that would require parental permission, this would be the form 'Permission form for Overnight and or high risk activities'
This form has a generic explanation:
Once you are satisfied with your form, save it and navigate back to permission slips, using the vertical tool bar:
Emailing slip to caregivers
From here you can populate the list to send the permission slip out to by clicking 'Add Students'
Select the class you want and, a list will appear:
At this point, it is a good idea to send yourself a test email to check you are sending what you want:
Check the test email that you have sent your self and if you are happy with it, you are now ready to send out your permission slip. To do this come back to the page shown above and click 'Activate and Send Emails'.
Once parents have filled out and approved the form, you will see this reflected in the status column:
You can resend the email to specific people (for example parents that have not responded. Do this by clicking the box in the row you need and click email options (top right):
Note - you can approve a slip yourself (you might do this if, for example a parent was unable to access the form but gave verbal consent over the phone). To do this go in to 'view slip':
Printing Take Along Reports (to take student info with you on a trip)
You can now print out a 'Take Along Report':
- A student list (for you to fill out and hand into reception on the day of your trip)
- Student and caregiver contact details
- A list of 'At Risk Students', with medical information
- A coversheet with emergency communication details.


