Adding a read only Calendar to your class Team
A frequent request from teachers at Hagley College is to be able to add a Calendar to Teams which is read only for students but editable for teachers. It is a rather complicated process to do this, but it can be done and it is worth the effort!
· Go to the Team and click on Files
· Click Open in SharePoint
· Click Site Contents
· Click the New button and choose App
· Search for "calendar"
· Click on the Calendar App and name the calendar and click create
· Click on the name of the calendar to Open the Calendar
· On the left hand side you will see your calendar's name highlighted. Right click and copy the link.
· Go back to your Team.
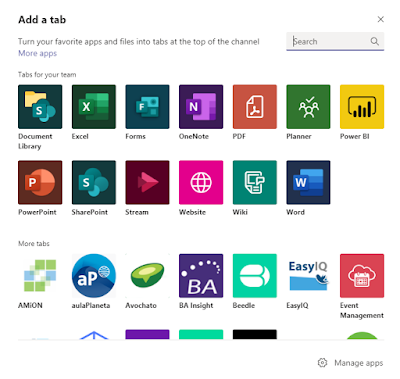
· Add a tab and choose Web Site.
· Enter the Tab title for your new calendar and paste the calendar link.
· Go back to Files
· Click Open in SharePoint
· Click Site Contents
· Find the name of the calendar you’ve added and click the 3 dots
· Click settings
· Click permissions for this list
· Click Stop inheriting permissions
· Click the most left box of the Team members
· Click edit user permissions.
· Click Read and Untick Edit, then click OK
If you would like some help with this please email the eLearning Leader Nathan Walsh.


Comments
Post a Comment